A step-by-step guide that’s easy to follow on how to use poses in The Sims 4.
I’ll instruct you on how to make use of in-game poses, CAS poses, and gallery poses!
How to Take Advantage of Pose in The Sims 4
Posing your Sims in The Sims 4 is such a FANTASTIC and ENJOYABLE technique to get stunning screenshots of your Sims.
On the other hand, if you have never used them before, you might find that they are a little bit difficult to understand.
I know that in order for me to fully comprehend what I was doing, I had to watch a huge number of videos on YouTube and read plenty of instruction manuals.
You won’t have to spend hours figuring things out like I did since I’ve put together a simple and quick Sims 4 pose tutorial that covers EVERYTHING I’ve learned about the game.
In today’s lesson, I’m going to walk you through the process of using poses in The Sims 4.
Let’s get started!
Pose Player Tutorial on How to Use the In-Game Poses in The Sims 4?
The in-game postures in The Sims 4 are the most difficult to employ of any of the other positions in the game.
In order for them to function properly, many processes and modifications are required.
Consequently, before we proceed any further, check to be that you have successfully downloaded the following two mods: Pose Player Mod & Teleport Any Sim Mod are two separate mods.
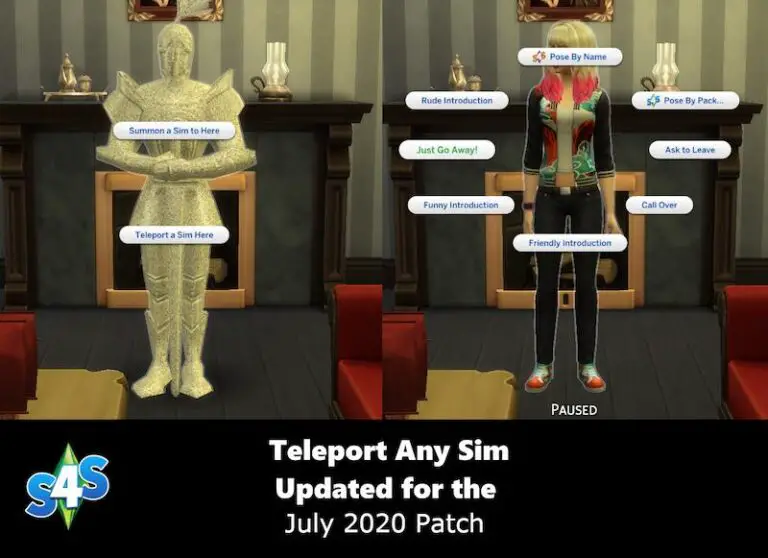
With the help of the Teleport Sim Mod, you’ll be able to place your Sims quickly and effortlessly wherever you need them to be for poses, including all together for group poses.
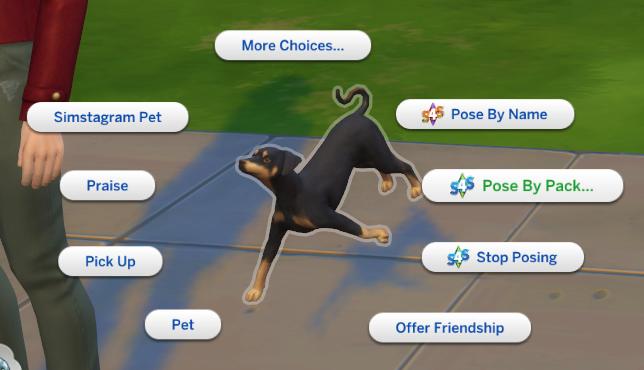
This modification, the Pose Player Mod, will add a new menu to your game.
This is where a list of all of your stances from within the game will be shown.
When you click on one of the poses, it will be added to the queue for your sim to do that pose until the action is canceled or until you click on another pose.
Downloading a Sims 4 ReShade preset is something else that comes highly recommended by me.
Because of this, the colors and graphics in your game will appear INCREDIBLE, as a result, your screenshots will look even better, and you will need to update them less frequently.
After taking care of all of that business, we are now in a position to begin utilizing positions.
To begin, one of the backdrops that were included with The Sims 4 Moschino Stuff is my first choice place.
This is something I do because I usually remove the background from all of my photographs before uploading them.
Also, having a background that is entire of a single hue makes things much simpler.
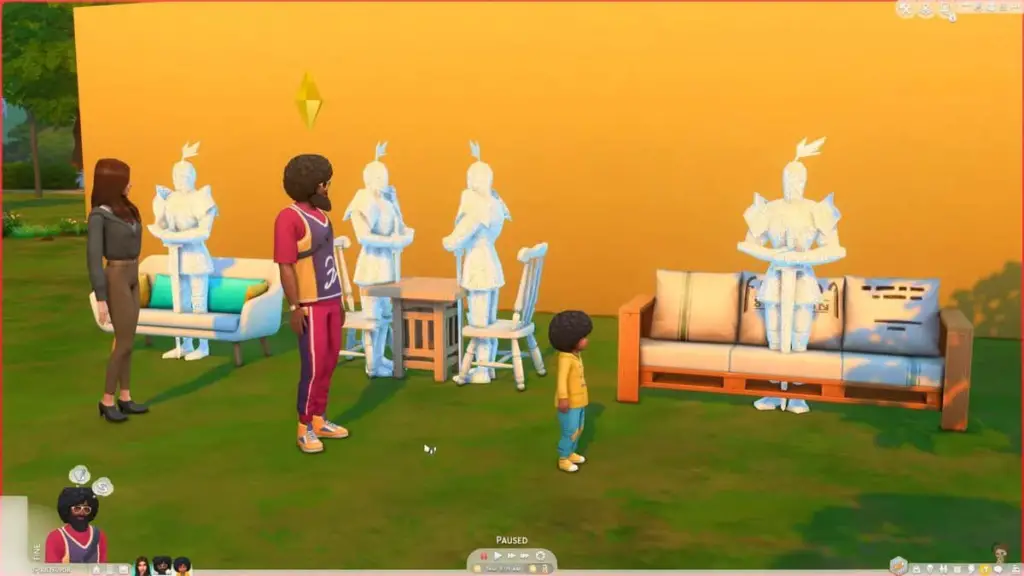
After entering the word ‘teleport’ into the search bar while in the buy mode, I will locate the teleporter mod.
It looks like a Knight.
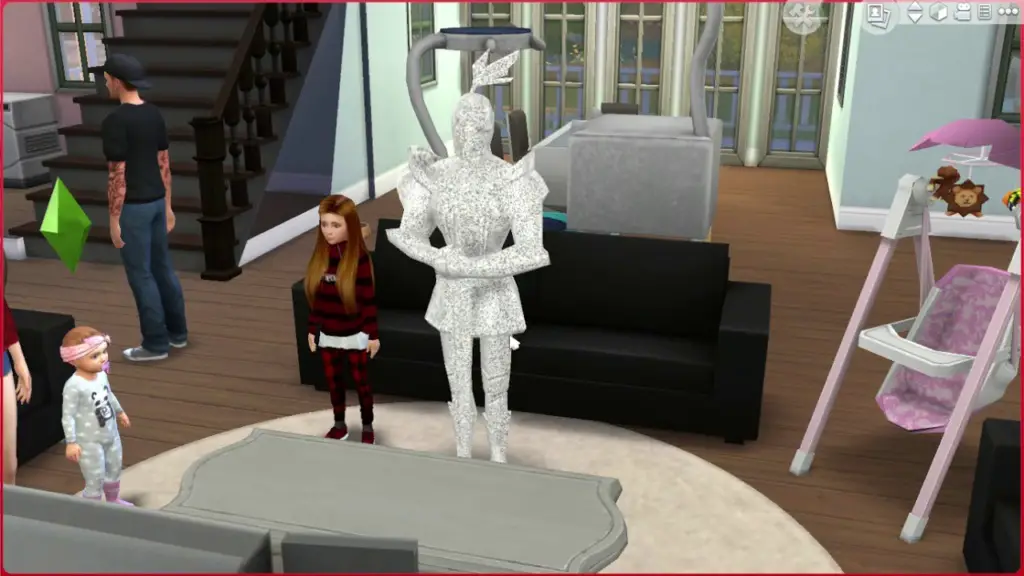
Because the pose that we’re utilizing calls for two sims at the same time, you’ll need to position the teleporters such that they are directly on top of each other and in the exact same location.
After that, you will move each sim to the desired location by clicking on the teleporters.
You will end up with two sims nested inside of each other, which could look a little strange, but have faith in the process.
Make the first Sim you wish to pose available to play with, and then click on them. Find the option that says “Pose by Pack” and click on it.
After that, navigate to the section labeled “Random Couple Poses,” click on the pose you want them to strike, and then select the appropriate position.
In most cases, there will be a signal indicating which of the several positions is the optimal choice for the sim.
As an illustration, within this pack of poses, it will either state “Pose 3: Female” or “Pose 3: Male.”
Exit out of the choices once you have selected the appropriate stance to click on.
And then carry out the steps outlined above for the second Sim.
Now all you need to do is hit the play button, and your Sims should be striking the posture you designed!
The position will be performed repeatedly by the sims unless you remove it from their queue in order to stop it.
The teleporters won’t be there any longer once you’ve terminated the action associated with the position.
You will need to replace them in order for your Sims to strike the same stance or one of your choosing.
You’ll want to press TAB to get rid of the Sims 4 user interface so that you may freely move your camera around in order to take the finest screenshots possible.
That is the approach that you will follow in its entirety for almost all of the in-game Sims 4 pose mods!
Having said that, there are a few notable outliers.
Certain positions will need the teleporters to be in particular locations, will make use of furniture, or will call for additional custom content objects.
In order to employ poses with bespoke objects:
- To begin, navigate to the location where you save your mods and download the necessary cc file.
- Then, before you have your sim strike the pose, you should put it on them in CAS (it is typically located in the category of headwear or accessories).
- Follow the standard procedure for posing in-game.
- Finally, once they are finished, return to CAS and remove the item from their inventory.
The majority of the time, the designers of the pose pack will include instructions on the download page on the CC that is required or the location where your Sims should be positioned.
You can make your Sims 4 posture photographs even better by adding lighting all around the backdrop or by trying to create the right background that complements the pose.
These are just some of the things you can do to improve the quality of your Sims 4 pose images.
How to Make Use of the CAS Poses in The Sims 4?
Create-a-Sim Pose I believe that create-a-sim poses are some of The Sims 4 stances that are the easiest to learn how to use.
They were the very first types of positions that I ever experimented with, and they are still the ones that I find myself using most of the time.
After you have downloaded the CAS pose that you want to use and placed it in your modifications folder, you will now need to start your game and navigate to the create-a-sim screen.
The next step is to either design a stunning sim of your own or select one from the collection that you wish to use as the basis for your screenshots.
Currently, when you got the CAS pose pack, it ought to have provided a list of the trait animations that it superseded.
Therefore, if you want your Sim to pose anytime you click on the self-assured characteristic in CAS, you will need to click on it multiple times.
The stances cannot be repeated in a continuous manner.
If you would like your Sim to perform the postures again, you will need to click on the characteristic once again.
And that’s all there is to it when it comes to using CAS poses in The Sims 4!
However, the following suggestions and ideas to bear in mind may be of use to you:
- You may acquire a variety of screenshots of your sims in positions by zooming in and out and changing the angle of the camera.
- It is only possible for you to have one pose pack in your modifications folder for any trait animation replacement at any given time, thus it is important that you do your best to keep track of what you have.
- When you want to chop your sim out of the background for photo editing, it will be much simpler if you use a CAS background that is all one color.
- Editing software with a simple interface, such as Canva, is an excellent tool for quickly removing the background with a single click, piecing together many images, adjusting the color, and creating stunning visuals for social media.
I really hope that you found this tutorial on CAS poses to be helpful, and as always, if you have any questions, please leave them below.
Tutorial on How to Make Use of the Sims 4 Gallery Poses?
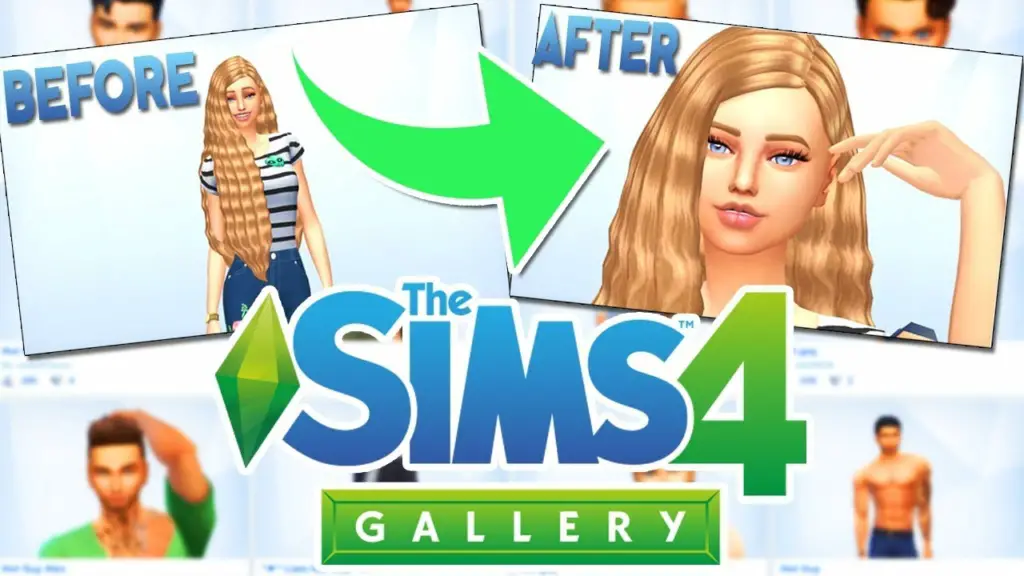
Once you have a firm grasp on the fundamentals, learning how to employ gallery poses and CAS poses is rather straightforward.
You may customize the image that appears when you share your households to the Sims 4 gallery by using something called a custom gallery pose.
To differentiate yourself from the other users of the gallery and to avoid using the standard positions that are always available, you can download and make use of some adorable gallery pose mods.
The use of a custom gallery pose may be broken down into these easy stages.
- Save the gallery pose to your mods folder after downloading it.
- Create the household you want to share or save by going into Create-a-Sim and doing so.
- Make sure that your Sims are standing in the correct order if you are going to use a group pose (the creator should list the order on the download page)
- To save your household, use the button located in the menu’s upper-right corner.
- There will be a screen that appears with a photo of your sim or sims that you can upload to the gallery. If your sims are not already in their custom positions, you can get the stance you want by clicking the camera icon in the top-right corner of the screen and selecting “randomize portrait.”
- After that, select either “save to library” or “share to gallery” from the menu.
- Your personalized gallery pose has been selected to serve as the featured image for the gallery.
I told you it would be easy to understand!
Understanding the various kinds of gallery poses as well as the distinction between primary and secondary positions is, in all honesty, the most difficult aspect of gallery poses.
In light of this, the following information pertaining to Sims 4 gallery poses is presented:
- Primary poses are those that are used for the primary portrait of the household.
- The postures that are used for an individual sim’s portrait are referred to as secondary poses.
- You may only have one pack of poses of each type stored in your modifications folder at any given moment for each category.
- Maintain a folder on your desktop specifically for your additional gallery poses. This will allow you to quickly move them in and out of your mods folder as needed.
And one final tiny hint, that may come in handy!
Because I’ve already discussed it, creating your Sims in a particular order is necessary for the group gallery poses.
If you accidentally put them in the wrong order (like I do all the time), save the household, and then re-merge the household in while eliminating sims until you ultimately get them in the appropriate sequence.
It might be a bother, but it gets the job done!
I hope that this gallery postures instruction was helpful and as usual, if you have any questions, comment below.
We hope that this post was able to answer any and all issues you had regarding the use of Sims 4 pose mods, whether it be in-game, CAS, or the gallery!
And if that isn’t the case, feel free to leave a comment for me on this site, and I will get back to you as soon as I can.
